I was staring at a mid-tower build last Tuesday, sweating through my shirt because I couldn’t get the 24-pin connector to sit flush against the motherboard. The back panel wouldn’t even close, and I knew if I forced it, I’d probably snap a clip or, worse, create a choke point that would turn my customer’s new RTX 4070 into a glorified space heater. Most people think learning how to cable manage a pc is about making the inside look like a Pinterest board, but they’ve got it backwards. It’s not about the aesthetics; it’s about ensuring your components can actually breathe so you aren’t losing five percent of your frame rate to thermal throttling because of a tangled mess of SATA cables.
I’m not going to give you a lecture on “aesthetic harmony” or tell you to buy fifty-dollar custom sleeved extensions you don’t need. This guide is about the actual mechanics of efficient routing and using the tools you already have in the box. I’ll show you how to group your power leads, where to hide the bulk, and how to avoid the common mistakes that make maintenance a nightmare. We’re doing this for airflow and sanity, nothing else.
Table of Contents
- Step-by-Step Instructions
- Modular Power Supply Cable Routing Cutting the Dead Weight
- Using Velcro Straps vs Zip Ties Which One Actually Saves You
- 5 Mistakes That Are Choking Your Build
- The TL;DR on Not Ruining Your Build
- The Real Cost of a Messy Build
- Stop Treating Your Case Like a Junk Drawer
- Frequently Asked Questions
Guide Overview
Tools & Supplies
- Scissors or Side Cutters for trimming zip ties
- Flashlight or Headlamp for visibility in dark corners
- Zip Ties (1 pack, various sizes)
- Velcro Cable Ties (1 pack, reusable)
- Cable Combs (1 set, for straight PSU cables)
Step-by-Step Instructions
- 1. Before you even touch a screwdriver, clear your workspace and lay out every single component. If you try to route cables while the motherboard is still sitting on its anti-static bag, you’re going to end up with a mess of tensioned wires that look like a spiderweb. Lay the case flat, get your PSU positioned, and make sure you actually have a pile of zip ties or velcro straps ready to go.
- 2. Start with your “heavy hitters”—the big, thick cables that don’t care about your feelings. I’m talking about the 24-pin motherboard power and the 8-pin CPU cable. These are the ones that usually choke your airflow if you try to hide them in tight corners. Route these through the largest grommets in the chassis first, because once they’re in place, everything else is just secondary.
- 3. Next, tackle your GPU power cables. If you’re running a high-draw card, you don’t want these cables pulling on the connector and potentially warping the PCIe slot. Run them from the PSU through the bottom or side grommets, keeping them as straight as possible. Don’t let them drape across the middle of the case like a heavy curtain; that’s how you end up with a build that looks like a disaster zone.
- 4. Now for the annoying stuff: the front panel connectors and USB headers. These are tiny, fragile, and a total pain to plug in. I suggest grouping them together and running them through the smallest dedicated channels near the top or bottom of the motherboard tray. If you leave these dangling in the middle of the case, you’re just asking for a snag when you try to swap a component later.
- 5. It’s time to deal with your SATA cables and fan headers. If you have multiple fans, don’t just plug them into the motherboard and let the wires fly everywhere. Use a fan hub if you have one, or at least bundle the wires together using small zip ties. This keeps the “spaghetti” concentrated in one area so it doesn’t interfere with the direct line of sight to your components.
- 6. Once everything is plugged in, do a “dry run” of your cable paths. Look at the build from the side—not just through the glass, but from the back panel too. If you see a massive bulge in the back of the case, you’ve packed too much into one corner. Redistribute the bulk to the empty spaces near the bottom or the top to prevent the side panel from refusing to close.
- 7. Finally, secure everything. If you’re using zip ties, use a pair of snips to cut the tails flush; nothing ruins a clean build faster than a sharp plastic nub poking your finger when you’re trying to upgrade your RAM. If you used velcro straps, make sure they’re tight enough to stay but not so tight that they’re pinching the insulation on the wires. Give it a final check for any wires touching fan blades—because a clicking fan is the fastest way to regret your entire afternoon.
Modular Power Supply Cable Routing Cutting the Dead Weight
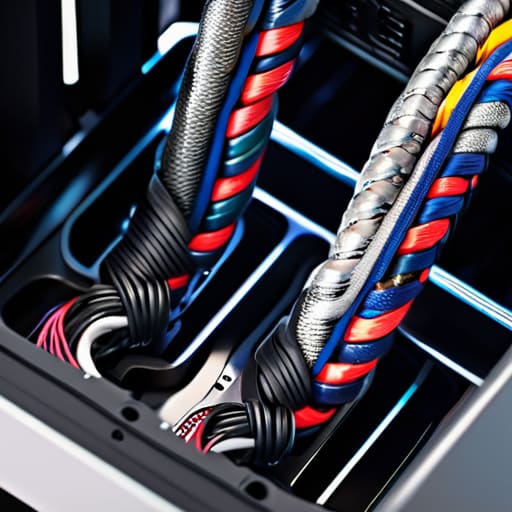
If you’re still rocking a non-modular PSU, I honestly feel for you—you’re basically fighting a war against a pile of useless copper. But if you actually invested in a decent unit, stop treating those extra cables like they’re part of the build. The absolute best way to handle modular power supply cable routing is to only plug in what you are actually using. I’ve seen people leave a 24-pin auxiliary cable just dangling in the basement of the case, and it’s a waste of space that does nothing but trap heat.
When you’re routing the cables you do need, don’t just aim for “out of sight.” If you’re working on cable management for small form factor builds, every millimeter of clearance matters. Use the grommets to create a clean path from the PSU to the motherboard, and try to keep the heavy bundles away from your intake fans. Also, a quick tip on the hardware: stop using those cheap plastic zip ties. I always keep a pack of velcro straps on hand because they let you adjust things when you inevitably realize you plugged the CPU power in the wrong spot.
Using Velcro Straps vs Zip Ties Which One Actually Saves You
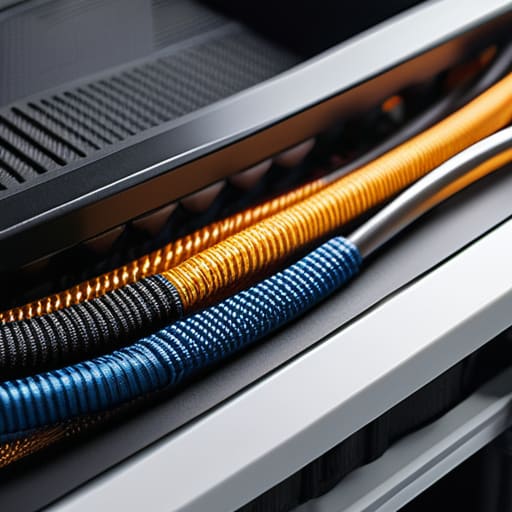
Look, if I see one more person slicing into their only 24-pin connector because they used a plastic zip tie too tight, I’m going to lose it. There is a massive difference between using velcro straps vs zip ties, and it’s not just about being “neat.” Zip ties are cheap, sure, but they are permanent. Once you’ve cinched them down, you’re stuck. If you decide to swap your GPU or add a new SATA drive next month, you’re either performing surgery on your wiring or leaving a mess of cut plastic bits in the bottom of your chassis.
I always keep a roll of velcro wraps in my kit. They are the absolute best way to hide cables in pc case builds without turning your interior into a graveyard of single-use plastic. Velcro lets you adjust the tension on the fly, which is a lifesaver when you’re working on cable management for small form factor builds where every millimeter of clearance matters. If you’re building a high-end rig, spend the extra three dollars on the straps. Your future self—and your cable integrity—will thank you.
5 Mistakes That Are Choking Your Build
- Plan your routes before you plug anything in. I’ve seen too many people realize halfway through that their 24-pin cable is too short to reach the side grommet, forcing them to pull a tight, stressed line right across the middle of the motherboard. Map the path from the PSU to the components first so you aren’t fighting your own hardware ten minutes in.
- Respect the airflow lanes. It’s not just about making the side panel close; it’s about making sure your cables aren’t sitting directly in the path of your front intake fans or blocking the air from reaching your GPU heatsink. If a cluster of wires is sitting right in front of a fan, you’re just turning your expensive components into space heaters.
- Don’t ignore the small stuff like SATA and fan cables. Everyone focuses on the big chunky power cables, but a messy web of tiny fan headers and SSD cables hanging near the GPU can create micro-turbulences or, worse, get caught in a spinning blade. Tuck those little guys into the gaps behind the tray immediately.
- Use the grommets, even if they look ugly. Those rubber slots in the chassis aren’t just there for decoration; they’re designed to hide the “rat’s nest” and prevent sharp metal edges from fraying your cable insulation. If you’re bypassing them to save five seconds, you’re asking for a short circuit or a cable that’s going to fail in six months.
- Leave a little breathing room. I’ve seen people pull their cables so tight they look like guitar strings. If your cables are under constant tension, they can put unnecessary stress on your motherboard headers or the PSU terminals. Leave a tiny bit of slack at the connection points so the build can actually handle the vibrations from your fans.
The TL;DR on Not Ruining Your Build
Buy a modular PSU; if you’re fighting a mountain of unused, stiff cables just to clear a path for your GPU, you’ve already lost the battle.
Ditch the zip ties for Velcro straps; you’re going to want to move things around when you inevitably upgrade your components, and cutting through plastic ties every six months is a headache you don’t need.
Prioritize airflow over “aesthetic” perfection; a clean-looking build is useless if your cables are bunched up right in front of your intake fans, killing your thermals and tanking your clock speeds.
The Real Cost of a Messy Build
Most people think cable management is just about making the side panel look clean for a photo, but if you’re letting a thicket of wires choke your intake fans, you’re literally paying for thermal throttling. I’ve seen too many builds where a $500 GPU is performing like a budget card because the owner was too lazy to route the cables away from the airflow path.
Denny Kowalczyk
Stop Treating Your Case Like a Junk Drawer
Look, at the end of the day, cable management isn’t about winning a beauty pageant for your motherboard; it’s about making sure your hardware can actually breathe. We’ve covered the essentials: ditch the unnecessary cables if you’re running a modular PSU, swap those permanent zip ties for versatile Velcro straps so you aren’t cursing yourself during your next GPU upgrade, and actually route your lines through the designated grommets instead of jamming them into the corners. If you follow these steps, you aren’t just cleaning up the view; you are actively preventing heat soak and making sure your components don’t thermal throttle when you’re mid-raid. It’s the difference between a machine that runs lean and one that’s choking on its own mess.
I know it’s tedious. I’ve spent more hours than I care to admit hunched over a chassis just to hide a single rogue SATA cable. But once that side panel finally clicks into place and you see a clean, unobstructed path for your airflow, it’s worth every second of the headache. A well-managed build is a reliable build, and reliability is the only thing that actually matters when you’re staring down a heavy render or a demanding new AAA title. Stop settling for a rat’s nest and start treating your hardware with the respect it deserves. Your components—and your future self—will thank you.
Frequently Asked Questions
Is it actually worth the extra cash for a fully modular PSU, or can I just learn to hide the extra cables in a cheap case?
Look, if you’re building a budget rig in a case with a massive basement shroud, you can definitely hide the extra junk and save the cash. But if you’re working with a compact mid-tower or a smaller SFF build, a non-modular PSU is a nightmare. You’ll end up fighting a massive coil of unused black cables just to get your GPU seated. Pay the premium for modular; your sanity (and airflow) is worth the extra twenty bucks.
Will tight cable routing actually lower my component temps, or am I just chasing an aesthetic that doesn't move the needle on my benchmarks?
If you’re just tucking cables behind the motherboard tray to make it look clean, you aren’t moving the needle. But if you’ve got a literal bird’s nest blocking your intake fans or choking the path between your GPU and the side panel, yeah, your temps will tank. I’ve seen builds where a single thick PSU loom caused a 5°C spike on the CPU. Clean routing isn’t just for the ‘gram; it’s about making sure your hardware can actually breathe.
How do I deal with those massive, stiff cables that refuse to bend without putting pressure on the motherboard connectors?
Look, those stiff 24-pin cables are a nightmare. If you try to force a bend right at the connector, you’re asking for a cracked PCB or a loose connection that’ll kill your system. Don’t fight the wire; move the bend. Use a bit of slack to create a wide, sweeping arc away from the motherboard before you loop it toward the routing hole. If it’s still fighting you, it’s probably a cheap non-sleeved cable that needs a better PSU.
