I was staring at a 45-second boot time on a machine I’d just spent three hours cable-managing, feeling that specific brand of tech-induced rage. Everyone tells you that upgrading is easy, but most guides act like you’re just plugging in a toaster, completely ignoring the fact that you might be staring at a BIOS screen that refuses to recognize your new drive or a SATA cable that’s actually dead on arrival. If you’re looking for a generic, step-by-step manual that ignores the actual headache of hardware troubleshooting, you’re in the wrong place. I’ve spent enough time elbow-deep in dusty chassis to know that learning how to install an ssd is only half the battle; the real work is making sure the system actually realizes it’s there.
I’m not going to waste your evening with three thousand words of fluff or “marketing speak” about read/write speeds you’ll never see in a real-world load screen. Instead, I’m giving you the no-nonsense workflow I use when I’m building for clients or fixing my own rigs. We’ll cover the physical install, the BIOS handshake, and how to verify your speeds so you aren’t getting cheated by a bad connection. Let’s get to it.
Table of Contents
- Step-by-Step Instructions
- Sata vs Nvme Installation Cutting Through the Marketing Hype
- The Real Ssd Installation Tools Needed to Get It Done Right
- 5 Things That'll Save You a Trip Back to the Store
- The Bottom Line: Don't Get Scammed by the Box
- ## The Real Cost of a Bad Install
- Don't Leave the Drive Hanging
- Frequently Asked Questions
Guide Overview
Tools & Supplies
- Phillips head screwdriver (small size for laptop or desktop screws)
- Anti-static wrist strap (to prevent electrostatic discharge)
- SSD (1 unit)
- Mounting screws (usually included with SSD or motherboard)
Step-by-Step Instructions
- 1. First, grab your screwdriver and kill the power. I don’t care if you think you’re being careful; if you leave the PSU switched on or the wall plug in, you’re asking for a static discharge that’ll turn your new NVMe into a paperweight. Once the lights are off, hold the power button down for a few seconds to drain any residual electricity left in the capacitors.
- 2. Pop the side panel off your case. If it’s a modern tempered glass case, don’t force it—look for the thumb screws at the back. Once you’re inside, find your M.2 slot if you’re installing a stick, or your SATA ports if you’re doing a 2.5-inch drive. If you’re going the SATA route, you’ll need two cables: the data cable that goes to the motherboard and the power cable that comes from your PSU.
- 3. If you’re installing an M.2 NVMe drive, locate the slot and remove the tiny screw at the end of it. If your motherboard has a built-in heatsink covering the slot, unscrew that first. Don’t lose that screw; they are microscopic nightmares and I’ve spent way too many hours looking for them under dusty PC builds.
- 4. Slide the SSD into the slot at a slight angle (about 30 degrees). You’ll feel it seat into the pins. Once it’s in, push it down flat and replace that tiny screw to secure it. If you’re using a heatsink, peel the plastic film off the thermal pad before you clamp it down, or you’ll end up throttling your speeds within ten minutes of gaming.
- 5. For the old-school 2.5-inch SATA drives, mount them in the drive bay or the tray provided by your case. Plug in the SATA data cable to the motherboard and the power lead from the PSU. Make sure they click into place; a loose connection here is a recipe for “drive not found” errors when you’re trying to boot up.
- 6. Close the case, plug everything back in, and fire it up. Don’t expect to see your new drive in “This PC” immediately. You’ll need to jump into Disk Management (right-click the Start button to find it), initialize the disk, and create a “New Simple Volume.” If you don’t do this, your expensive new storage is just sitting there doing nothing.
- 7. Once the drive shows up in Windows, don’t just start dragging files. Run a quick benchmark like CrystalDiskMark to ensure you’re actually hitting the sequential read/write speeds promised on the box. If you paid for 7,000MB/s and you’re getting 500MB/s, you’ve either got it in the wrong slot or you’ve botched the installation.
Sata vs Nvme Installation Cutting Through the Marketing Hype
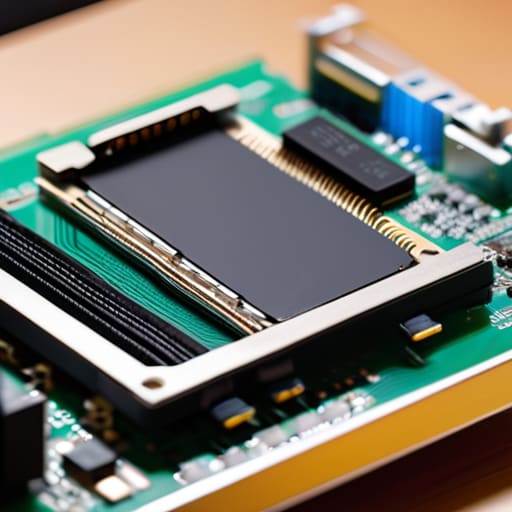
Don’t let the box art fool you; the physical process changes completely depending on what you’re holding. If you’re mounting an m.2 drive, you’re dealing with a tiny stick that slots directly into the motherboard—no cables, no clutter, just a single screw that I’ve lost more times than I’d like to admit. But if you’re doing a traditional SATA install, you need to make sure you actually have a spare data cable in your kit. I’ve seen too many people get halfway through a build only to realize they’re staring at a bare motherboard and a drive that has nowhere to plug in.
The real headache usually comes down to installing an SSD in a laptop vs desktop. In a desktop, you’ve got breathing room and standard mounting points. In a laptop, you’re often working in a cramped space where one wrong move with a screwdriver can snap a plastic clip. Once the hardware is actually seated, don’t just assume it’s ready to go. You’ll need to jump into disk management windows setup to initialize the drive, otherwise, your OS is going to act like it doesn’t even exist.
The Real Ssd Installation Tools Needed to Get It Done Right
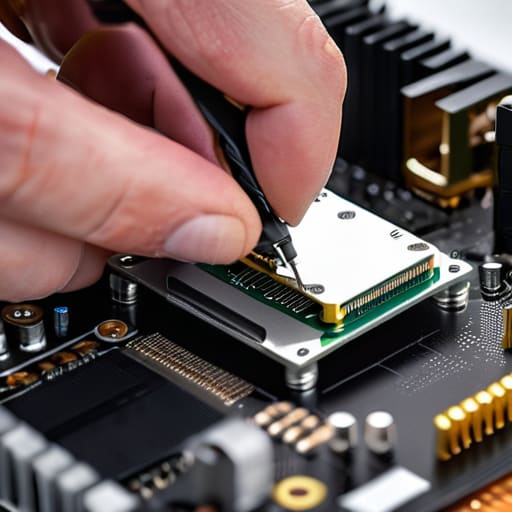
First off, don’t go out and buy a massive toolkit thinking you need a specialized lab. For most builds, a single, high-quality Phillips #0 or #00 screwdriver is all you actually need. If you’re mounting an m.2 drive, those tiny screws are easy to lose in a carpet, so grab a magnetic tip or a small parts tray before you start. I’ve lost more M.2 screws under a desk than I have actual components in my life. If you’re working on a laptop, the precision matters even more; those chassis screws are shallow and easy to strip if you’re forcing it.
Beyond the basics, keep a can of compressed air and some isopropyl alcohol (90% or higher) nearby. While you’ve got the case open, it’s the only time you’ll actually clean out the dust bunnies before they choke your fans. If you’re installing an SSD in a laptop vs a desktop, remember that laptops are way more cramped—you might want a pair of fine-tipped tweezers to help seat those tiny ribbon cables or connectors. Don’t just wing it; having the right small-scale gear saves you from a frantic trip to the shop mid-build.
5 Things That'll Save You a Trip Back to the Store
- Check your M.2 screw situation before you start. Most people think they have them, but they’re tiny, easy to lose, and often aren’t even in the box. If your motherboard didn’t come with a standoff pre-installed, you’re stuck unless you’ve got a spare or a very specific kit.
- Don’t just plug it in and call it a day. Once the drive is mounted and you’re back in Windows, run CrystalDiskMark. If you bought a Gen4 NVMe but you’re seeing Gen3 speeds, you probably have it slotted into the wrong M.2 port—the one tied to the chipset instead of the CPU.
- Static electricity isn’t just a myth from old textbooks, but you don’t need a fancy anti-static wrist strap either. Just touch the metal chassis of your case before you touch the drive. It’s a two-second habit that prevents you from frying a $150 component for no reason.
- If you’re doing a SATA install, watch your cable management. Don’t just shove the power cable in and leave the SATA data cable dangling near a fan. It’ll eventually vibrate loose or get snagged, and then you’re troubleshooting a “missing drive” error that’s actually just a loose connection.
- Format the drive immediately in Disk Management. A common mistake is finishing the install, booting up, and wondering why the drive doesn’t show up in “This PC.” It’s not broken; it’s just unallocated. Initialize it, give it a letter, and you’re actually good to go.
The Bottom Line: Don't Get Scammed by the Box
Stop paying the “launch price” premium; check the current street price before buying, because a slightly slower drive at 40% off is a better value-per-frame than a flagship that’s eating your entire budget.
Verify your speeds immediately after installation; if you bought a Gen4 NVMe but your benchmark shows Gen3 speeds, you either have it in the wrong slot or your motherboard is lying to you.
Don’t skip the cable management or the mounting screw check; a loose SATA connection or a poorly seated M.2 drive is just a future headache that’ll have you tearing the whole rig apart again in three months.
## The Real Cost of a Bad Install
“Don’t just slap the drive in and assume you’re good to go; if you haven’t checked your BIOS settings or verified your read/write speeds immediately after, you’re basically just guessing that you didn’t just waste fifty bucks on a bottlenecked setup.”
Denny Kowalczyk
Don't Leave the Drive Hanging
Look, if you’ve made it this far, you’ve already done the hard part. You’ve picked between the SATA cables that clutter your airflow and the NVMe sticks that actually utilize your motherboard’s bandwidth, and you’ve hopefully grabbed the right precision screwdriver instead of trying to use a butter knife. Just remember: once the drive is physically seated, the job isn’t finished until you’ve gone into Disk Management to initialize it. If you skip that, you’re going to be staring at a blank drive wondering why your new 5,000MB/s sequential read speeds aren’t showing up in your file explorer. Run a quick benchmark once you’re done to ensure you aren’t getting throttled by a bad connection or a thermal issue, because hardware is only as good as its installation.
At the end of the day, upgrading your storage is the single most effective way to stop your system from feeling like a relic. Whether you’re trying to cut down a 2-minute loading screen in a massive open-world RPG or just trying to make your OS stop stuttering every time you open a browser, a fresh SSD is the move. Stop letting a slow drive dictate your experience and stop overpaying for pre-built systems that use bottom-tier components just to pad their margins. You know how to build it, you know how to test it, so just get it done and get back to your games.
Frequently Asked Questions
I’ve already installed the drive, but why isn't it showing up in my File Explorer?
If your drive isn’t showing up, don’t panic—it’s almost certainly not broken. You likely just haven’t initialized it yet. Windows won’t show a “blank” drive in File Explorer until you tell the OS what to do with it. Right-click the Start button, open Disk Management, find your unallocated drive (it’ll have a black bar), right-click it, select “New Simple Volume,” and follow the wizard. Once it’s formatted and assigned a letter, it’ll finally pop up.
Do I need to wipe my old drive, or can I just plug the new SSD in and keep everything exactly as it is?
If you just plug it in, your PC will act like it’s meeting a stranger: it won’t know where the OS is. You have two real choices. You can “clone” your old drive to the new one using software like Macrium Reflect—this keeps your files and settings exactly as they are—or you can do a fresh Windows install. Personally, I prefer a fresh install. It clears out the registry junk and keeps your frame rates stable.
If I'm upgrading my boot drive, do I have to reinstall Windows from scratch or is there a way to just move everything over?
You don’t have to wipe everything, but don’t just copy-paste files like you’re moving photos to a thumb drive. You need to clone it. Grab a bit of software like Macrium Reflect or Clonezilla to create an exact image of your current drive onto the new one. Just a heads-up: if you’re moving from an old SATA SSD to a lightning-fast NVMe, cloning works, but you’ll still want to verify the partition alignment so you aren’t choking your new speeds.
