I was staring at a thermal throttling report on a client’s machine last week, watching the clock speeds tank to 800MHz because the fan was choked by a layer of dust and a soldered-on GPU that was never meant to handle modern titles. Most people think that when their machine starts chugging, they just need to buy a new one, but that’s exactly what the manufacturers want you to believe. Learning how to upgrade a laptop isn’t always about slapping in a new stick of RAM; sometimes, it’s about realizing your current hardware is being held hostage by bad design choices and proprietary nonsense.
I’m not going to give you a generic list of “tips” that sounds like it was pulled from a corporate manual. Instead, I’m going to show you how to actually look under the hood to see what’s salvageable and what’s a total waste of your cash. We’re going to talk about identifying your actual bottlenecks, checking compatibility without getting tricked by a spec sheet, and whether a cheap SSD upgrade will actually give you the performance bump you’re paying for. No hype, just the numbers and the reality of what works.
Table of Contents
- Step-by-Step Instructions
- The Laptop Hardware Compatibility Check You Cant Ignore
- Increasing Laptop Performance Without Wasting Your Hard Earned Cash
- 5 Things I Learned the Hard Way So You Don't Have To
- The Bottom Line: Don't Buy Into the Hype
- ## The Reality Check
- The Final Verdict
- Frequently Asked Questions
Guide Overview
Tools & Supplies
- Precision screwdriver set (to remove small chassis screws)
- Plastic spudger or prying tool (to pop clips without damage)
- Anti-static wrist strap (to prevent electrostatic discharge)
- RAM sticks (1 or 2 depending on slots)
- SATA or NVMe SSD (1 unit)
- Thermal paste (1 small tube if upgrading CPU/GPU)
Step-by-Step Instructions
- 1. First, stop looking at the sticker on the bottom of the chassis and go find your actual model number. Manufacturers love to use generic names, but you need the specific sub-model to know if your motherboard actually has an extra DIMM slot or if everything is soldered down like a brick. Check your system info in Windows or just look at the fine print on the underside. If it says “soldered” or “onboard” next to the RAM specs, stop right here because you aren’t upgrading anything except your disappointment.
- 2. Once you’ve confirmed you aren’t working with a paperweight, grab a set of precision screwdrivers—usually a Phillips #0 or #00. Don’t try to use a kitchen knife or a flathead from your junk drawer; you’ll strip the screws instantly, and then you’re stuck with a laptop that’s permanently sealed shut. I’ve seen enough stripped heads to know that a $5 kit is cheaper than a replacement chassis.
- 3. Open the case and, this is the part most people skip, disconnect the battery. Even if the laptop is powered off, there’s still current running through the board, and if you drop a tiny screw onto the motherboard while you’re swapping parts, you’re going to see a literal puff of smoke. I’d rather spend ten minutes being careful than ten weeks waiting for a repair shop to fix a shorted board.
- 4. If you’re upgrading RAM, locate the existing sticks and find the metal tension clips on the sides. Push them outward simultaneously, and the stick should pop up at an angle. Pull it out, swap in your new module, and slide it into the slot at that same angle before pressing it down until it clicks. If you’re adding an SSD, find the M.2 slot, unscrew the single tiny mounting screw, and make sure you don’t lose that screw in your carpet—it’s basically microscopic.
- 5. Before you screw everything back together, do a “dry boot.” Plug the battery back in, close the lid (don’t fully screw it in yet), and hit the power button. You want to make sure the BIOS actually recognizes the new hardware before you go through the hassle of re-seating the entire shell. If it boots to the desktop and your system info shows the new capacity, you’ve won.
- 6. Now, put the bottom cover back on and tighten the screws in a cross pattern. Don’t crank them down like you’re changing a tire; laptop threads are notoriously fragile and easy to cross-thread. Just tighten them until they feel snug, then move to the next one.
- 7. Finally, get into your OS and run a stress test or a quick benchmark. I usually throw a heavy game or a Cinebench run at it just to see if the new components are stable under load. If you see your frame rates jumping or your system crashing, you likely have a faulty module or a bad seating job, and you’ll need to crack it open one more time to fix it.
The Laptop Hardware Compatibility Check You Cant Ignore
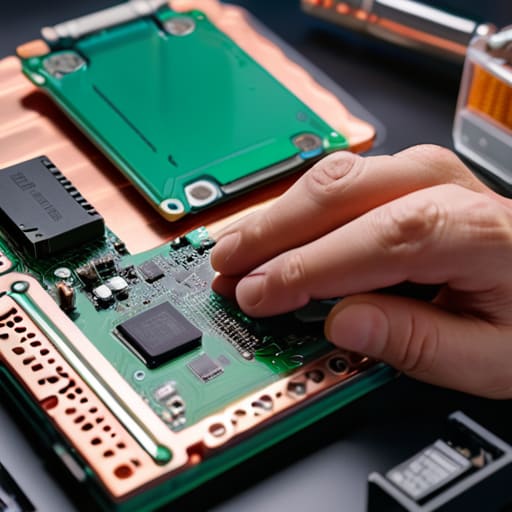
Before you go clicking “Add to Cart” on some flashy RGB stick, you need to do a proper laptop hardware compatibility check. I’ve seen too many people buy a high-end drive only to realize their motherboard is stuck in 2018 and can’t even recognize an NVMe slot. Use a tool like Crucial’s scanner or, better yet, pull up your specific model’s service manual online. If you’re looking at upgrading laptop storage capacity, check if you have an extra M.2 slot or if you’re forced to replace your existing drive. There is nothing more soul-crushing than spending sixty bucks on an SSD only to find out you have to reinstall your entire OS just to use it.
While you’re at it, don’t sleep on your memory configuration. If your laptop has two slots, always aim for a matched pair to reap the dual channel RAM benefits; running a single stick is basically leaving free performance on the table. Also, don’t be that person who tries to pry a chassis open with a butter knife. Grab a decent set of laptop disassembly tools—specifically some precision Pentalobe or Phillips drivers—so you don’t strip the screws and turn your machine into a very expensive paperweight.
Increasing Laptop Performance Without Wasting Your Hard Earned Cash
If you’ve already confirmed your parts won’t brick the machine, stop looking at the expensive “gaming” branded upgrades. Most of the time, you’re just paying a premium for a sticker. If your current boot times feel like they take an eternity, installing an M.2 NVMe SSD is the single biggest win you can get for your money. I’ve seen people shell out hundreds for a new chassis when a $50 drive would have moved their load times from “coffee break” to “instant.” It’s about price-per-second of waiting, not just raw capacity.
Don’t sleep on your memory, either. If you’re running a single stick of RAM, you’re essentially driving a supercar with a speed limiter on. Moving to a two-stick setup to unlock dual channel RAM benefits can stabilize your minimum frame rates in games, preventing those annoying stutters that happen when the CPU is starved for data. It’s not about hitting a higher peak; it’s about making sure your 1% lows don’t tank while you’re actually in a fight. Stick to the specs, skip the hype, and keep your cash in your pocket.
5 Things I Learned the Hard Way So You Don't Have To
- Check for soldered components before you get excited; many modern thin-and-light laptops have the RAM soldered directly to the motherboard, meaning you’re stuck with whatever you bought on day one no matter how much you want to upgrade.
- Don’t skip the static safety stuff; I’ve seen enough fried components from people working on carpets to know that a cheap anti-static wrist strap or at least touching a grounded metal object is non-negotiable.
- Match your SSD’s physical dimensions exactly; if you try to force an M.2 2280 drive into a slot meant for a 2242, you aren’t just going to struggle with the screw, you’re likely going to snap something that’s impossible to fix.
- Keep your original screws in a magnetic tray or a literal egg carton; nothing ruins a build faster than realizing you’ve got one leftover long screw that’s currently pressing against the motherboard like a dagger.
- Thermal paste isn’t optional when you swap a heatsink; if you’re opening the machine to upgrade storage or RAM, check the CPU/GPU temps, and if you’re touching the cooling assembly, use a high-quality paste or you’ll be throttling at 60°C under zero load.
The Bottom Line: Don't Buy Into the Hype
Stop checking the manufacturer’s website for “upgradability” and actually open the damn thing or check the teardown videos; if the RAM is soldered to the board, no amount of money is going to fix your frame rates.
Prioritize your spend based on your actual bottleneck—if you’re stuttering in open-world games, get more RAM or a faster NVMe SSD, but don’t waste cash on a higher-capacity HDD if you’re just going to use it for storing screenshots.
Always calculate your price-per-performance before hitting ‘buy’; if an upgrade only nets you a 5% bump in real-world loading speeds but costs half your monthly rent, just save that money for a new machine instead.
## The Reality Check
Stop looking at the sticker on the box and start looking at the actual slots inside; I’ve seen too many people drop two hundred bucks on a high-speed SSD only to realize their motherboard is soldered shut and their ‘upgrade’ is just a very expensive paperweight.
Denny Kowalczyk
The Final Verdict
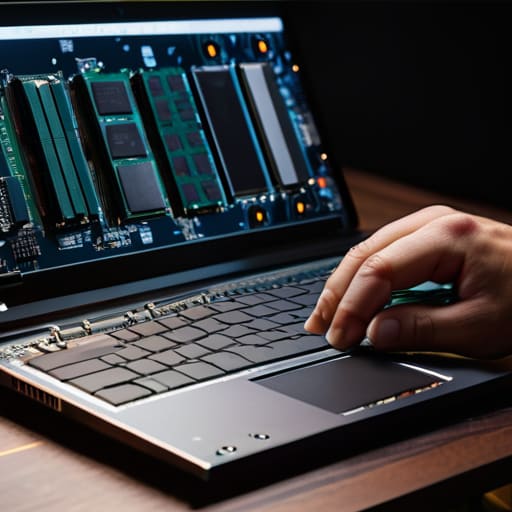
Look, upgrading a laptop isn’t some magic trick that turns a potato into a workstation, but it’s also not a total scam if you do the math first. We covered the essentials: double-check your motherboard’s limits so you don’t buy RAM that your system literally can’t use, and prioritize an SSD if you’re still staring at a spinning loading icon. If you’ve already maxed out your slots, don’t go chasing phantom performance gains by buying the most expensive sticks on the market; dimmer is often better than being incompatible. Just focus on the price-per-performance ratio and make sure the hardware you’re buying actually addresses your specific bottleneck, whether that’s stuttering in a game or a Windows update taking ten minutes to load.
At the end of the day, your gear should work for you, not the other way around. I’ve seen too many people dump money into “gaming” laptops that are basically just glorified spreadsheets because the thermal throttling makes them useless for actual play. If these upgrades give you that extra breathing room to finish a build or hit a stable frame rate without dropping your entire budget, then it was a win. Stop letting the marketing departments tell you when your tech is obsolete. Take control of your hardware, tinker where it makes sense, and stop paying the “new model” tax until you actually have no other choice.
Frequently Asked Questions
If I swap out my current SSD for a faster NVMe drive, will I actually see a difference in game loading times or is it just marketing hype?
If you’re moving from a mechanical HDD to an NVMe, it’s a massive win—we’re talking seconds versus minutes. But if you’re already on a SATA SSD and upgrading to a Gen4 NVMe, don’t expect miracles. In my testing, loading Cyberpunk 2077 might shave off maybe 2 or 3 seconds. It’s not “hype,” but the price-per-second of improvement is terrible. Unless your current drive is dying or painfully slow, keep your cash.
Can I actually upgrade my RAM if the sticks are soldered directly to the motherboard, or am I stuck with what I bought?
If they’re soldered, you’re stuck. Period. I’ve seen enough “expandable” marketing claims to know that if the RAM is part of the motherboard’s actual silicon layout, there is no magic slot to plug something new into. Unless you’re a professional with a BGA rework station and a death wish for your warranty, you can’t touch it. Check your manual or a teardown video first; don’t buy extra sticks unless you see actual slots.
Is it worth the risk of voiding my warranty just to squeeze an extra 8GB of memory out of a machine that's barely holding up?
Look, I’ve seen enough cracked motherboards to know the stakes. If your machine is barely crawling through Chrome, 8GB of RAM is the difference between usable and a paperweight. But check your fine print first. Some manufacturers are chill about RAM upgrades, while others will use a single stripped screw as an excuse to deny a claim. If the machine is still under a premium warranty, weigh the cost of a repair against the $30 upgrade.
